Solar-powered dummy cameras offer a green, efficient alternative to traditional security systems, utilizing renewable energy and requiring minimal wiring. These cameras charge via integrated solar panels during daylight, enabling autonomous recording in remote areas without grid power. When installing, select a sunny location with unobstructed views for optimal charging and performance; gather essential tools like a drill, screws, level, and wire strippers; and follow manufacturer instructions for setup. Regular testing, maintenance (including power cycling and lens cleaning), and checks ensure continuous, reliable security surveillance.
“Enhance your home or business security with our comprehensive guide on installing a solar-powered dummy camera system. This step-by-step tutorial covers everything from understanding the benefits of solar-powered dummy cameras to planning the perfect installation location. Learn how to gather the necessary tools and materials, follow a detailed installation process, and discover testing and maintenance tips for optimal performance. Get ready to protect your property like a pro with this practical Solar Powered Dummy Camera Installation guide.”
- Understanding Solar-Powered Dummy Cameras
- Planning Your Installation Location
- Gather Required Tools and Materials
- Step-by-Step Installation Process
- Testing and Maintenance Tips
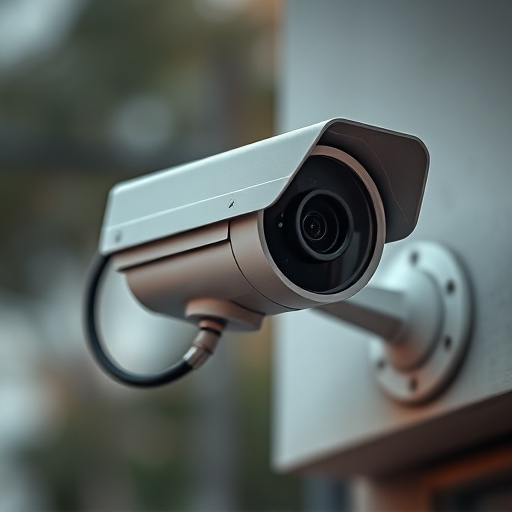
Understanding Solar-Powered Dummy Cameras
Solar-powered dummy cameras offer a unique and sustainable solution for home or business security. Unlike traditional surveillance systems that rely on electricity from the grid, these solar cameras utilize renewable energy, making them an eco-friendly option. The installation process for solar-powered dummy camera is relatively straightforward, allowing users to set up a secure environment without extensive wiring.
These cameras are designed with a solar panel integrated into their structure, which charges the built-in battery during daylight hours. This means they can operate autonomously, recording footage and sending alerts even in remote locations without access to traditional power sources. Understanding how to position these cameras optimally for maximum sunlight exposure is key to ensuring efficient charging and reliable operation.
Planning Your Installation Location
When planning your Solar Powered Dummy Camera Installation, choosing the right location is paramount. Consider areas that offer unobstructed views, ideal for observing and recording activities. Opt for locations with ample sunlight exposure to ensure efficient power generation for the solar-powered cameras.
Surroundings play a key role too; position your dummy camera where it can capture relevant footage without being easily detectable. Discrete placement is crucial for maintaining the system’s effectiveness as a deterrent or for security monitoring, ensuring a realistic simulation of surveillance without raising unnecessary alarms.
Gather Required Tools and Materials
To begin your Solar Powered Dummy Camera Installation, gather all necessary tools and materials specific to this project. Essential items include a solar-powered dummy camera, mounting hardware suitable for outdoor use, and an energy-efficient solar panel designed for outdoor applications. Additionally, you’ll need basic tools such as a drill, screws, a level, and wire strippers. Ensure your workspace is prepared by selecting a suitable location for both the camera and solar panel; consider factors like lighting, angles, and proximity to power sources.
When assembling your surveillance system, prioritize safety by wearing protective gear, especially when handling tools and electrical components. Follow manufacturer instructions carefully, ensuring each part of the Solar Powered Dummy Camera Installation is securely attached and aligned correctly. Test the system thoroughly after completion to verify its functionality and ensure it operates seamlessly in any lighting conditions.
Step-by-Step Installation Process
Setting up a solar-powered dummy camera is a straightforward process that can be completed in just a few simple steps. Start by selecting a location with ample sunlight access, such as a window sill or outdoor post. This is essential for the camera’s solar panel to harness energy efficiently. Next, gather your tools: a screwdriver, a level, and any mounting hardware provided with the system. Ensure the surface is clean and dry before beginning installation.
Place the solar panel in the chosen location, ensuring it faces unobstructed towards the sun. Use the level to ensure proper alignment for optimal sunlight capture. Secure the panel firmly using the included brackets or mounts. Once the panel is in place, attach the dummy camera body, aligning its lens with your desired view. Connect the power cable from the panel to the camera, ensuring a secure electrical connection.
Testing and Maintenance Tips
After successfully installing your solar-powered dummy camera, regular testing and maintenance are essential to ensure optimal performance and longevity. Periodically power cycle the device by disconnecting and reconnecting the solar panel and battery to mimic real-world conditions and prevent any potential glitches. Check the camera’s motion detection capabilities regularly by triggering them manually to confirm their sensitivity and range.
Keep the dummy camera’s lenses clear of debris and dust, as even minor obstructions can significantly impact its field of view. Use a soft cloth to gently wipe down the exterior and ensure the solar panel is clean and free from shadows or obstructions that might reduce its efficiency. Regular maintenance not only improves the camera’s functionality but also extends its lifespan, providing continuous security and surveillance for your property.
A well-installed solar-powered dummy camera can significantly enhance your home or business security. By understanding the principles of solar-powered operation, strategically choosing your installation location, and following a meticulous step-by-step process detailed in this guide, you’ll not only deter potential intruders but also ensure your peace of mind. Regular testing and maintenance will keep these cameras operating optimally, providing continuous surveillance and protection for years to come. Implement the tips from this Solar Powered Dummy Camera Installation guide for a robust security solution that’s both effective and eco-friendly.