Solar-powered dummy cameras offer an innovative, eco-friendly security solution. These wireless devices capture sunlight via integrated solar panels, charging internal batteries for continuous operation without traditional power outlets. With advanced features like motion detection and HD video, they enhance security discreetly while reducing carbon emissions and wiring requirements, making them ideal for homes and businesses. Installation involves mounting the camera and solar panel in a sunny location, connecting them via cables and batteries, testing functionality, and customizing settings for optimal performance.
“Enhance your home or business security with the latest eco-friendly option—Solar Powered Dummy Cameras. This article guides you through understanding and installing these innovative devices, offering a sustainable alternative to traditional surveillance. Discover the benefits of solar technology in security systems, from reduced energy costs to seamless integration into modern landscapes.
We’ll walk you through a step-by-step installation process, ensuring a straightforward setup for maximum protection. Dive into the world of Solar Powered Dummy Camera Installation and secure your space efficiently.”
- Understanding Solar Powered Dummy Camera Systems
- Benefits of Installing a Solar Dummy Camera
- Step-by-Step Guide to Solar Dummy Camera Installation
Understanding Solar Powered Dummy Camera Systems
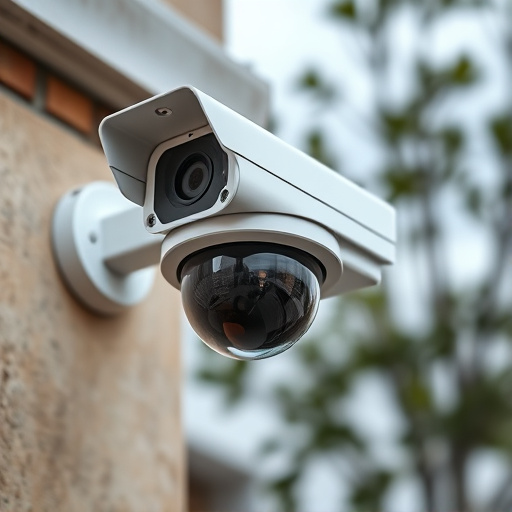
Solar-powered dummy camera systems are an innovative and eco-friendly option for enhancing security. These cameras leverage solar energy, capturing both light and power from the sun, eliminating the need for traditional electrical connections. The system typically consists of a camera housing designed to resemble a real security camera, complete with a solar panel integrated into its design. During the day, the solar panel charges the camera’s internal battery, ensuring it remains operational even in areas without access to conventional power outlets. This technology offers a stealthy and sustainable solution for monitoring properties, providing homeowners and businesses with enhanced security without the hassle of electrical wiring.
Benefits of Installing a Solar Dummy Camera
Installing a solar-powered dummy camera offers numerous advantages for home or business security. One of the key benefits is its environmental friendliness; harnessing solar energy reduces carbon footprints and provides a sustainable power source. This eco-conscious approach not only saves on electricity bills but also contributes to a greener planet. Additionally, these cameras are convenient as they can be easily installed in various locations without the need for complex wiring, making them ideal for remote or hard-to-reach areas.
The autonomy of solar dummy cameras is another significant advantage. With solar power, these devices can operate independently, ensuring continuous surveillance without relying on traditional power grids. This feature enhances their reliability and longevity, providing peace of mind and round-the-clock protection. Moreover, many modern solar-powered models come with advanced features like motion detection, HD video quality, and wireless connectivity, making them a versatile and powerful addition to any security system.
Step-by-Step Guide to Solar Dummy Camera Installation
Installing a solar-powered dummy security camera is an eco-friendly and convenient way to enhance your home or business’s security. Here’s a step-by-step guide to help you get started:
1. Choose the Right Location: Select a spot that receives ample sunlight, typically facing south (in the Northern Hemisphere) or north (in the Southern Hemisphere). Ensure it’s free from obstructions like trees or buildings that might shade the camera during parts of the day. A visible, yet not overly conspicuous location is ideal for dummy cameras.
2. Unbox and Prepare: Begin by unboxing your solar-powered dummy camera and its accessories. This usually includes the camera body, a solar panel, batteries, mounting hardware, and instructions. Ensure all components are included before proceeding. Clean the solar panel to ensure maximum sunlight absorption.
3. Mount the Camera and Solar Panel: Securely attach the camera to a suitable mount, ensuring it’s stable and at the desired height. Then, position the solar panel in direct sunlight. Use the provided hardware or screws to fix them in place. Ensure the panel is tilted appropriately for optimal sun exposure throughout the day.
4. Connect and Test: Link the solar panel to the camera using the included cables. Install any necessary batteries, following the instructions for correct polarity. Turn on the device and test its functionality. Check if it records footage, connects to your network (if wireless), and reacts to motion or sounds as expected.
5. Adjust Settings: Personalize your camera’s settings according to your preferences. This may include motion detection sensitivity adjustments, recording schedule, and notification preferences. Ensure you’re satisfied with the camera’s performance before leaving it in place.
Solar Powered Dummy Camera Installation offers a practical and sustainable solution for home and business security. By harnessing the power of the sun, these cameras provide a cost-effective, eco-friendly alternative to traditional wiring. With their numerous benefits, from reduced installation costs to minimal maintenance, solar dummy cameras are an excellent choice for those seeking efficient and reliable surveillance. This conclusion highlights the key aspects covered in this article as a concise guide for anyone considering this innovative security measure.